®


 EN
 AR
 BG
 HR
 CS
 DA
 NL
 FI
 FR
 DE
 EL
 HI
 IT
 JA
 KO
 NO
 PL
 PT
 RO
 RU
 ES
 SV
 IW
 ID
 LV
 LT
 SR
 SK
 SL
 UK
 VI
 ET
 HU
 TH
 TR
 FA
 MS
 BE
 HY
 AZ
 KA
 MN
 MY
 KK
 TG
 UZ
 KY

Curling your hair with a hair straightener, a common tool used at home or in salons, is an easy way to make soft waves, gentle movement, loose curls, or bouncy ringlets without buying a separate curling iron. With the right technique, you can turn your everyday straightener into a handy styling tool for different looks, and bring you different looks. The key is to prep your hair well, use the right temperature, and learn how to twist and glide the plancha para el pelo through each section, by working with small, manageable pieces. Whether you're getting ready for work, a casual day out, or a special occasion, for events like weddings, parties, or casual meetups, a few simple steps can help you make nice curls that last longer while keeping your hair healthy.
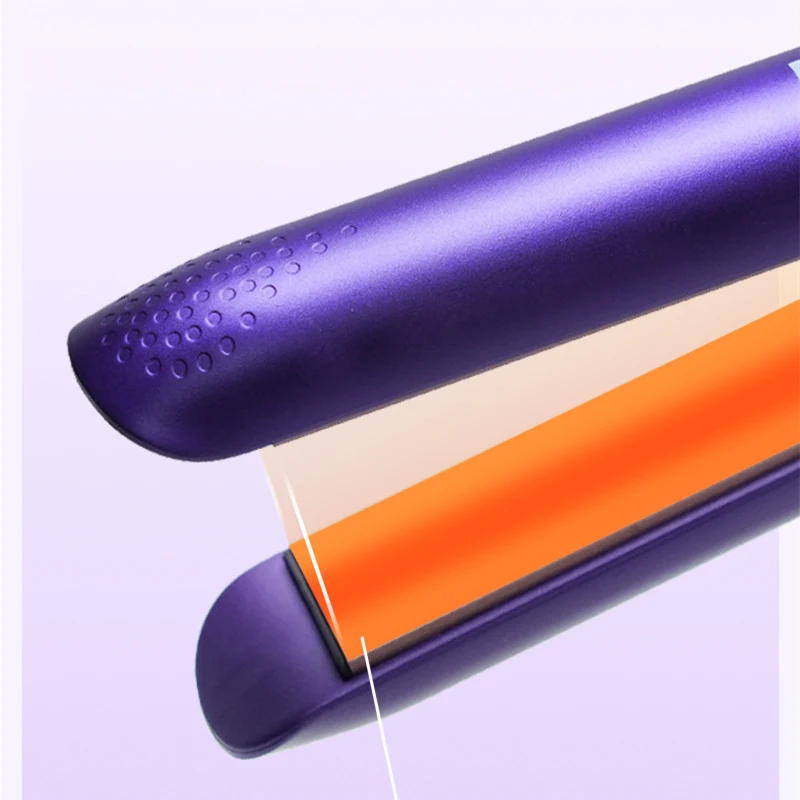
How to Prepare Hair Before Using a Hair Straightener
Before curling your hair with a hair straightener, take a few minutes to prep it properly, in a calm, well-lit space, at home or in a studio. Good prep makes styling easier, helps your curls last, and lowers the risk of heat damage, and keeps hair healthier and shinier. Start with clean, dry hair, and a bit of patience, because using a flat iron on wet hair can cause serious damage. If you just washed your hair, dry it completely with a hair dryer or let it air dry before styling.
Next, comb your hair carefully to get rid of knots and tangles, from roots to ends, using a wide-tooth comb first. When your hair is smooth, the straightener glides through each section more easily, and the curls come out more even, with better volume and balance. If your hair frizzes easily, you can apply a small amount of a lightweight styling product, like a smoothing cream, such as a light serum or lotion, as long as it's okay to use before heat styling, even in humid weather.
Heat protection is a step you shouldn't skip, a simple habit that helps keep hair safe. Spray the heat protectant evenly over your hair, from roots to ends, follow the product instructions, and let it dry before you use the straightener, so it can form a protective layer. It helps reduce heat damage, although it can't fully prevent all the damage caused by high temperatures, and it helps the hair stay softer and more resilient.
Once your hair is ready, divide it into a few sections with clips, using extra clips to hold different layers. If your hair is thick, make more sections so you can work on smaller parts at a time, to control heat and shape. For thin or fine hair, a few sections may be enough, you may only need a couple of sections. Try to keep each section about one to two inches wide, or a bit wider for bigger curls, depending on the kind of curl you want.
Last, pick a temperature that suits your hair type, and adjust gradually. Fine, damaged, or chemically treated hair usually needs lower heat, which helps reduce damage, while thick or coarse hair may need a slightly higher setting, but not always. Start with the lowest temperature that works for your hair instead of turning up the heat right away, and test a small area first. With these simple steps, you'll have a better starting point for natural-looking curls with a Plancha de pelo de cerámica .
How to Create Loose Curls with a Hair Straightener
Loose curls are a good choice, especially for easy, everyday wear, such as office days, errands, or coffee runs, and they look soft, natural, and full of movement. They work well for everyday wear, like going to work, meeting a friend, or getting ready for a casual date, and you can wear them for many different occasions and daily activities. You can get this look with a hair straightener by using a simple twisting technique, such as a light twist, rather than pulling the tool straight down like you normally would.
Start by dividing dry hair into sections that are easy to hold, in neat, small parts. Take a section about one to two inches wide and hold the straightener near the middle of the strand, leaving enough distance from the scalp so you don't burn your skin. Clamp the hair gently between the plates, then rotate the straightener about a half turn away from your face, and keep it steady. The direction of the twist helps shape the curl as you move the tool down, guiding the curl with control and care.
Keep the straightener moving slowly and smoothly toward the ends of the hair, and avoid stopping in one spot for too long, because it can leave a mark or expose your hair to too much heat. For loose curls, use a gentle twist and a steady glide instead of wrapping your hair tightly around the tool, and try to maintain even pressure along the strand. The faster the Plancha de pelo de hierro plano moves, the softer the curl may be, while a slower pass can make a more defined shape. Try not to go over the same section again and again as much as possible, to protect the hair from extra heat exposure.
Repeat the process all over your hair, switching the direction of the curl between sections for a more relaxed, natural finish. For example, you can curl the front pieces away from your face and change the direction at the back of your head, which adds movement and keeps the curls from looking too uniform.
When you're done, let your hair cool down completely before touching or combing it. Then gently run your fingers through the curls to loosen them, and if you want a little volume, lift the roots slightly with your fingers. Finish with a bit of flexible-hold hairspray if needed, to set the style without stiffness.
The secret to loose curls is keeping your movements relaxed, and with a little practice, you can make soft, effortless waves without needing a separate curling iron.
How to Create Tight Curls with a Hair Straightener
Tight curls are a good choice when you want a more defined hairstyle with extra bounce and volume. A hair straightener is often used for smooth, straight hair, but you can also use it to make smaller, springy curls with the right technique, and you can learn to control the twist and the distance from the scalp. The key is to work with smaller sections of hair, control the twist, and let each curl cool before you style it further.
Start by dividing your dry hair, with heat protectant on, into small sections about half an inch wide. Smaller sections help make tighter, more defined curls, while bigger sections give you loose waves. If your hair is thick, use clips to keep the sections apart so you don't miss any part while you work, and so you can manage each curl well.
Take one section and clamp the straightener near the root, leaving a safe distance from the scalp. Rotate the straightener about a half turn, then slowly glide it down toward the ends while keeping the twist. Keep your hand steady and move at an even speed. Avoid pulling too fast, because the curl may not form properly. At the same time, don't hold the straightener in one spot for long, because too much heat can damage your hair.
For a tighter result, choose a narrow section and use an even twisting motion from the middle of the strand to the ends. You can curl the sections around your face away from it for a more open look, then switch directions on other sections to create a natural texture. If you prefer a uniform hairstyle, curl every section in the same direction.
After you let go of each curl, let it cool without poking or pulling it. This helps the curl keep its shape longer. When your whole head is done, gently separate the curls with your fingers if needed. Avoid combing right away, because it can weaken the shape and cause frizz.
Finish with a light spray of hairspray to help hold the style. Keep in mind that very tight curls may take practice, especially if your hair is naturally straight or heavy. Start with a low, suitable heat setting and adjust your technique before turning up the temperature. With patience and careful handling, a hair straightener can help you get defined curls without using a separate curling tool.
How to Choose the Right Hair Straightener Temperature for Curling
Choosing the right temperature matters when you curl your hair with a hair straightener. If the heat is too low, your curls may fall out quickly. If it's too high, your hair is at risk of becoming dry, brittle, or easy to break. The best temperature depends on your hair type, thickness, and overall condition, so it's better to start at a low setting and adjust only if needed.
For fine, thin, or damaged hair, start at around 250–300°F (120–150°C). These hair types are more sensitive to heat, so a lower setting is safer. If your hair is normal or medium thickness, try 300–350°F (150–175°C). Thick, coarse, or naturally resistant hair may need about 350–375°F (175–190°C), but avoid turning up the heat when you don't need to. These ranges are only starting points, not guarantees, since every hair type reacts to heat differently.
Before you style, check if your straightener has adjustable temperature settings. If it does, start at the low end of the range that suits your hair. Curl one small section and see how long the shape holds once it cools. If the curl looks good, keep the same setting for the rest of your hair. If it falls out, check your technique and section size before raising the heat.
For example, if you have fine hair and your curls disappear after a few minutes, using a smaller section and letting each curl cool may work better than going straight to the straightener's highest setting. On the other hand, thick hair may need a little extra heat to form a clear curl, but it is still important to do it slowly and with even movements.
Always apply heat protectant before styling, and make sure your hair is completely dry. Avoid going over the same section with the straightener again and again, since frequent exposure to heat can damage hair even at a moderate temperature. With the right setting and a little practice, you can make curls that look good without putting your hair through too much.
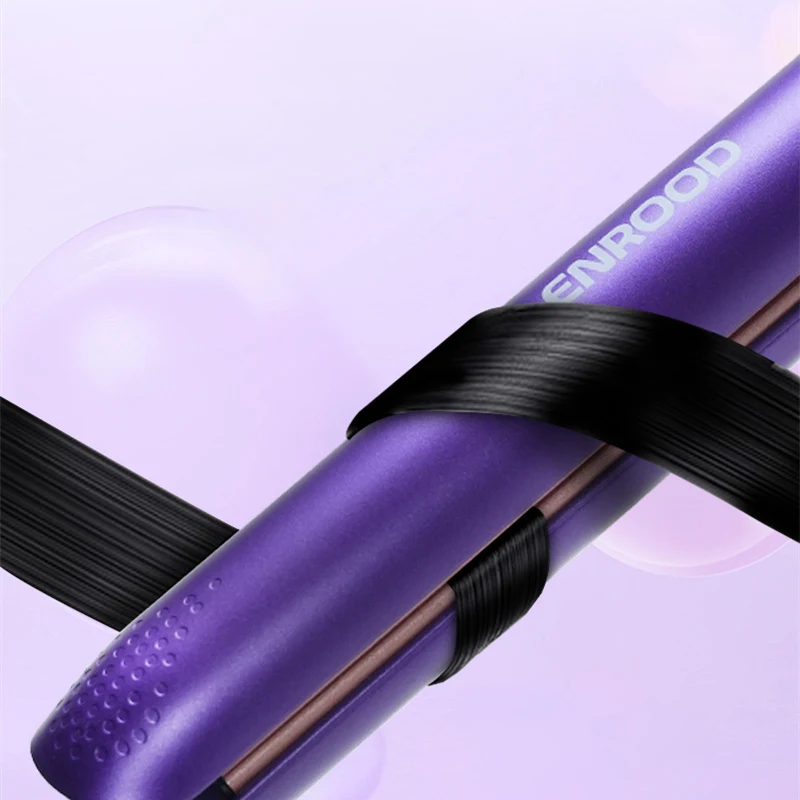
How to Protect Hair When Using a Hair Straightener
Protecting your hair when you use a hair straightener is just as important as learning how to make nice curls. Regular heat styling can leave hair dry, dull, and prone to split ends, especially if you use high temperatures or curl the same section over and over. The good news is that a few simple habits can help reduce heat damage while keeping your hair soft and easy to style.
Start by making sure your hair is completely dry before you use a straightener, a basic habit for better results. Putting heat directly on damp hair can cause more damage than styling dry hair. After shampooing, gently towel-dry your hair and use a hair dryer if needed. Before you pick up the straightener, apply heat protectant evenly all over your hair, paying attention to the mid-lengths and ends. Follow the product instructions and let any wet residue dry before styling.
Next, choose a temperature that fits your hair type. Fine, fragile, or chemically treated hair usually needs less heat than thick, coarse hair. Start at a low setting and turn it up only if needed. You don't have to use the highest temperature to make lasting curls. In many cases, smaller sections and the right twisting technique will give you better results without too much heat.
It's also important to keep the straightener moving. Clamp each section gently, twist the tool, and glide it toward the ends in one smooth motion. Avoid holding the plates in one place or curling the same strand again and again. If a curl doesn't turn out the way you wanted, let your hair cool down before you try a different technique, instead of adding more heat right away.
Between styling sessions, give your hair time to recover. Use a moisturizing conditioner after shampooing, and think about using a hair mask if your hair feels dry. Trimming split ends when needed can also make your hair look healthier. If you notice more breakage, a rough texture, or constant dryness, use heat tools less often.
Lastly, clean the straightener plates when the tool is unplugged and completely cool, following the manufacturer's instructions. Product buildup can affect how smoothly the plates glide through your hair.
With the right prep, moderate heat, and gentle styling, you can enjoy your curls without putting too much stress on your hair.
Yiwu JiHong Electric Appliance Co., Ltd. se fundó el 27 de abril de 2017 y cuenta con dos marcas independientes: "Lenrood" y "Coobo". Centrada principalmente en la distribución física y en canales mayoristas, la empresa cuenta con más de 30 años de amplia experiencia en el sector de los electrodomésticos, con unos ingresos anuales de aproximadamente mil millones de yuanes. Conocida por sus elegantes diseños, su calidad superior y sus funciones inteligentes, JiHong ofrece una amplia gama de productos, que incluye modernos electrodomésticos para el cuidado personal, productos para el cuidado bucal, dispositivos de salud y bienestar, y pequeños electrodomésticos de cocina. La empresa prioriza la I+D, la innovación y el control de calidad, garantizando la innovación continua de sus productos, la expansión del mercado y un servicio posventa fiable. Se compromete a convertirse en un referente en el sector de los pequeños electrodomésticos inteligentes de la nueva era. Guiada por los principios de "tecnología innovadora, calidad excepcional y una cultura cálida y centrada en el cliente", JiHong se esfuerza por ofrecer experiencias extraordinarias y reconfortantes, aportando más "temperatura" a la vida de los usuarios.